Installing Columbus
This Web page describes how to set up Columbus and run a simple example. It is assumed that the target user of the system has basic familiarity with the Linux Operating System.
This documentation is created to be compatible with Red Hat or Ubuntu Linux Operating System running the bash shell. You might need to do minor modifications to the commands based on your environment. You do NOT need to have root access to your working machine in order to set up and run Columbus.
Source code (.tar.gz or .zip) is available in the download page.
1. Dependencies
You need to install the following dependency packages in order to run Columbus. The source code and examples in the Columbus release are compatible with the versions in parentheses.
-
Oracle
11g 64bit
Refer Oracle documentation for installation procedure.
R >= 2.15.2
R Packages to be installed
ROracle(1.1-10)
Requires client libraries that can be downloaded from here.
DBI (0.2-7)
Detailed installation procedure is given here.
hash (2.2.6)
data.table (1.8.8)
ggplot2 (0.9.3.1)
Rgraphviz
2. Set up the Database
Once the Oracle is installed , use the following command to startup the database from sqlplus command line.
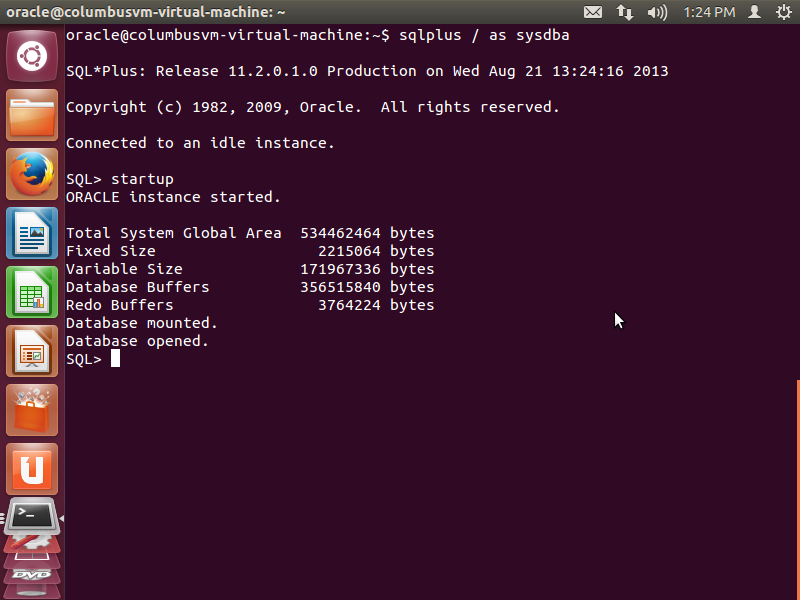
If the Oracle instance is successfully started, it will display a success message as above.
- Create a user for example columbus with the password set to columbus. Grant all privileges to the created user.
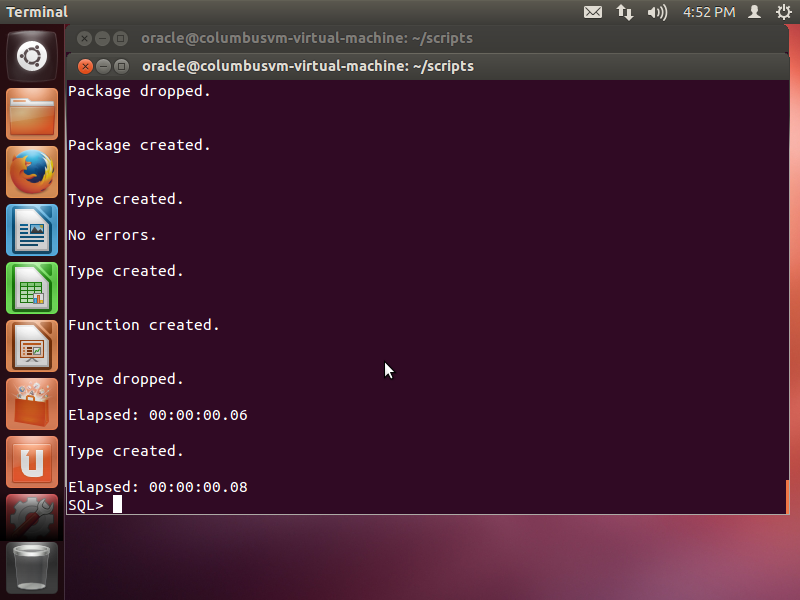
- From the root of source code, change the directory to scripts and execute the following command from sqlplus as follows
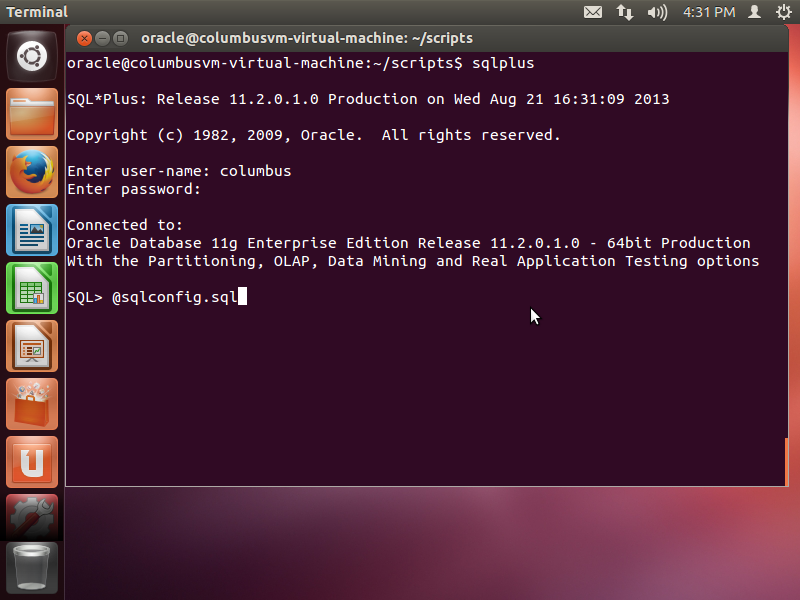
The above sql file will create required types and objects for the
Columbus system. If the execution was successful, the output should
look like the following
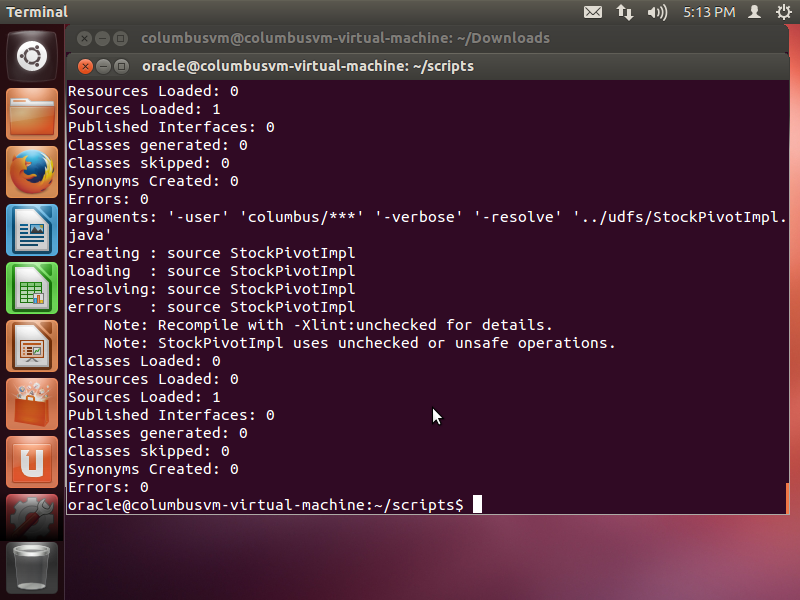
- From the scripts directory, load the User Defined Functions in to the database using loadscripts.sh file. Note that, the file has to be modified to comply with the user name and password that was created in the previous steps. After successful loading of the scripts, one should see the following output
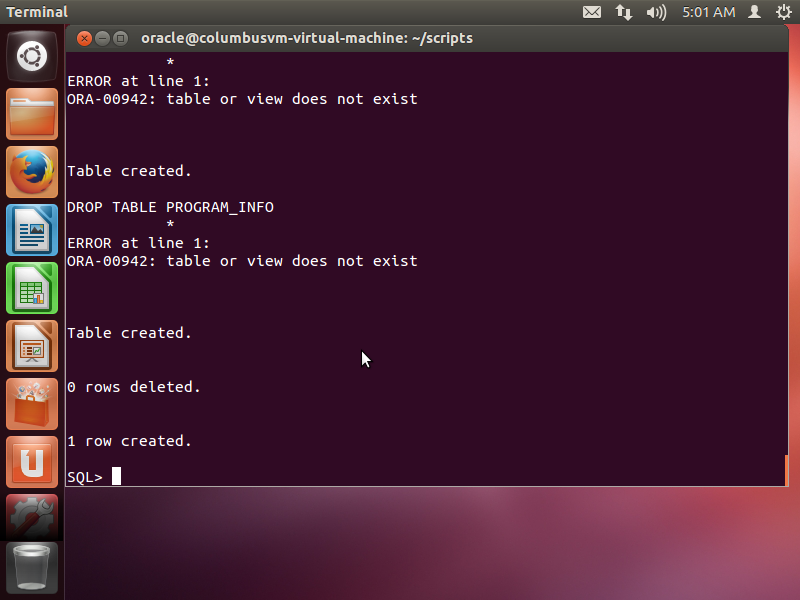
- Now the tables and initial values required for the Columbus system is created by executing createColumbusTables.sql in the script directory from sqlplus command prompt. The output of the script should look like the following
If all the steps go through without any fatal errors, then the database is setup to run Columbus system. Congratulations.
If some of the above steps did not succeed, you can safely re-run it after solving the issue that caused the interruption.
3. Environment
- The following environment variables are specific to oracle and must be set correctly to connect database instance from Columbus. The environment variables will be specific the path and sid of oracle installation. An example set of environment variables is given below.
export ORACLE_HOSTNAME=localhost.localdomain
export ORACLE_BASE=/u01/app/oracle
export ORACLE_HOME=$ORACLE_BASE/product/11.2.0/dbhome_1
export ORACLE_SID=AL32UTF8
export NLS_LANG=.AL32UTF8
export ORACLE_UNQNAME=AL32UTF8
export PATH=$PATH:$ORACLE_HOME/bin
- Set the environment variable COLUMBUS_HOME pointing to the base of the source code directory. For example
export COLUMBUS_HOME=/home/oracle/columbus
You need to install the following dependency packages in order to run Columbus. The source code and examples in the Columbus release are compatible with the versions in parentheses.
5. Load Test Data
Sample datafiles are located in the data folder. The schema for the data files are created by executing corresponding create files in the scripts directory. Run these files in the sqlplus command prompt in the usual way.
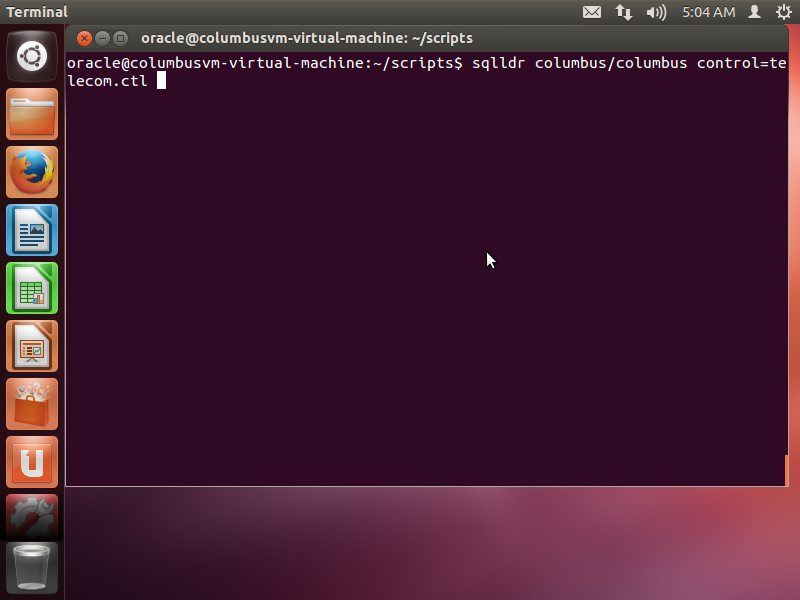
Once the schema is created, execute the control function
using the sqlldr command from the scripts directory. Note that the
control function must be invoked with appropriate username and password
created. An example is illustrated below.
Once the data is loaded, we are now ready to use the system.
6. Run Columbus
Detailed usage information for each operation is given at the Using Columbus page , but we present simple invocation to test our Columbus installation.
Before executing, we have to initialize some parameters for the Columbus system. In the DataScientist directory, the config.R file contains the basic configuraion information. The variable config is a list and holds value for different configuration parameters. The parameters are explained below
- repository : directory location where temporary R data files are stored.
- user: user name to access the oracle database
- pass: password to access the oracle database
- read.intercept : intercept value for the read cost
- write.intercept: intercept value for the write cost
- read.cost : cost to read a value from a column in a tuple.
- write.cost: cost to write a value to a column in a tuple
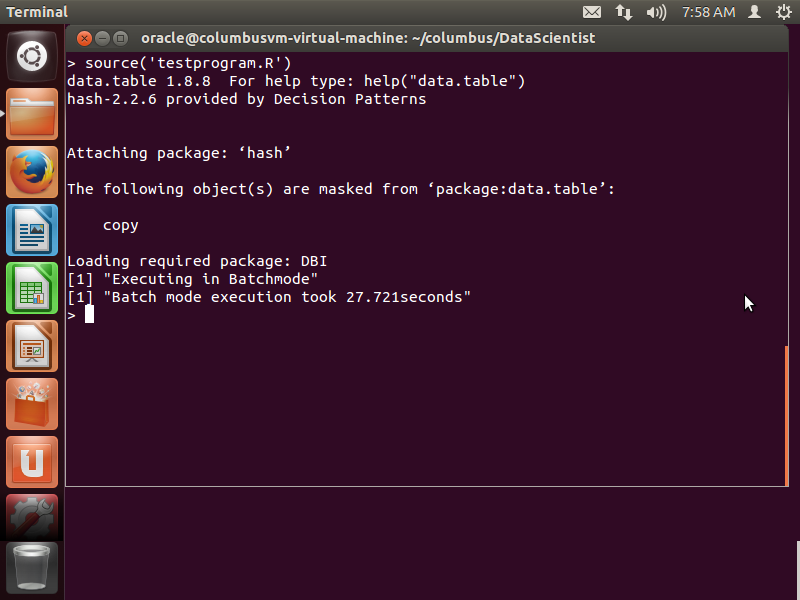
source('testprogram.R')
The execution should go through without any errors. The testprogram executes columbus operations in an interactive manner followed by batch execution.
After successful execution, one should observe the following message in the screen