Installing Bismarck
This Web page describes how to set up Bismarck and run a simple example. It is assumed that the target user of the system has basic familiarity with the Linux Operating System.
This documentation is created to be compatible with Red Hat or Ubuntu Linux Operating System running the bash shell. You might need to do minor modifications to the commands based on your environment. You do NOT need to have root access to your working machine in order to set up and run Bismarck.
Source code (.tar.gz or .zip) is available in the download page.
1. Dependencies
You need to install the following dependency packages in order to run Bismarck. The source code and examples in the Bismarck release are compatible with the versions in parentheses.
- PostgreSQL (9.0.4) or Greenplum (4.1.1.1)
- Python (2.7) and Psycopg (2.4) (both optional; needed only for the Python-based front-end)
For example, to install PostgreSQL, unpack the tarball and let the base directory be $PGDIR. To install it without root version, perform the following steps:
./configure --prefix=$PGDIR/pgsql
make
make install
2. Set up the Database
Set up and start a PostgreSQL or Greenplum database in the usual manner. The following steps illustrate this for setting up a PostgreSQL database:
export PGHOME=$PGDIR/pgsql
cd $PGHOME
mkdir SQL_DATA
bin/initdb -D SQL_DATA
bin/pg_ctl -D SQL_DATA -l logfile start
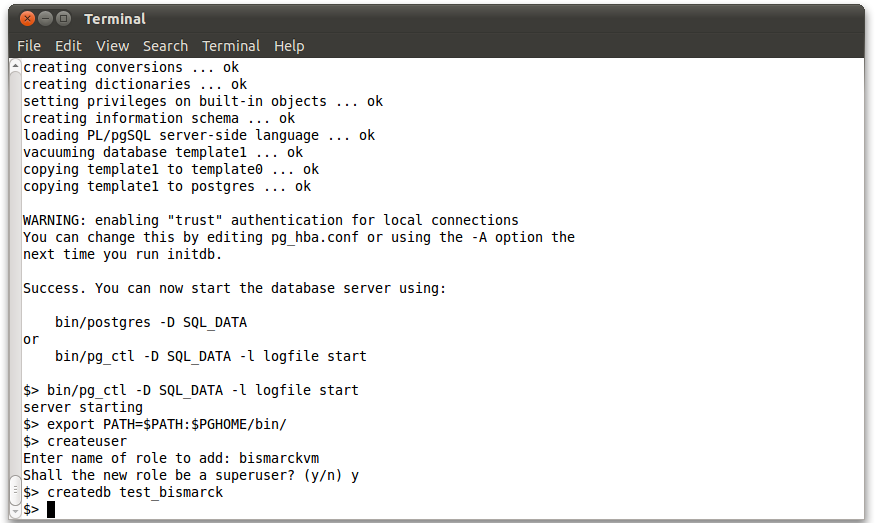
On success you should get a message that says server starting. If there are any problems in setting up the database, you may want to refer to the PostgreSQL Manual. Now, create a new user and a new database:
export PATH=$PATH:$PGHOME/bin/
createuser
 Enter name of role to add: bismarckvm
 Shall the new role be a superuser? (y/n) y
createdb test_bismarck
3. Environmental Variables
Adjust the following environmental variables in the file bismarck.path in the base folder as per your system settings:
- Add the paths to the psql binary (and python binary if needed) to PATH
- Adjust the PostgreSQL variables PGHOME, PGUSER, PGPORT and PGDATABASE (respectively for Greenplum)
- Add the path to the PostgreSQL library to LD_LIBRARY_PATH
Effect the changes in the environmental variables.
source bismarck.path
4. Installation
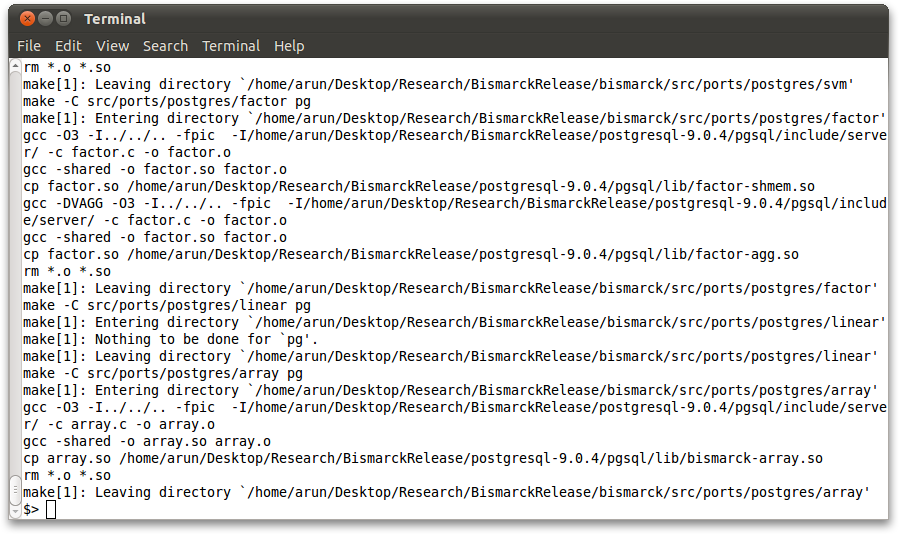
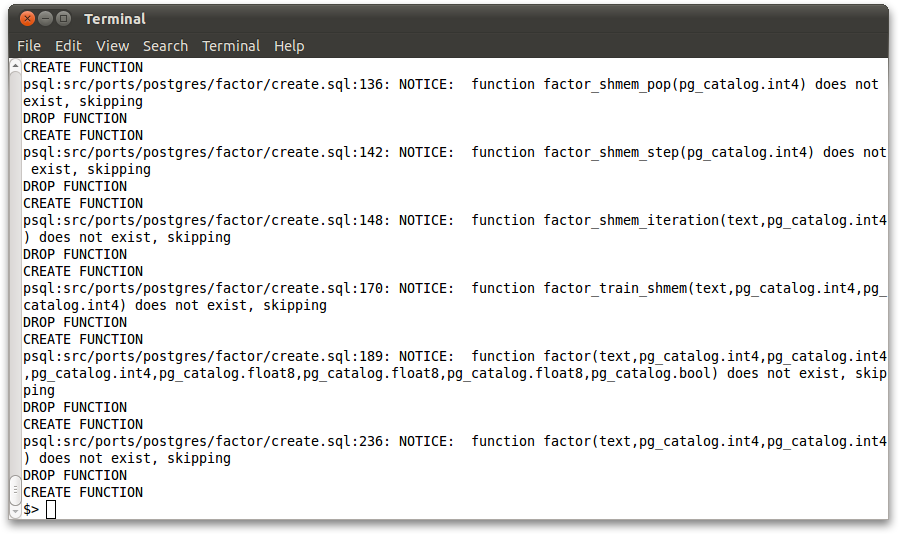
Go to the base folder to compile and install Bismarck for PostgreSQL:
make pg 2>> install.err
make install-pg 2>> install.err
or for Greenplum:
make gp 2>> install.err
make install-gp 2>> install.err
If the install.err does not contain any 'ERROR' messages, the installation has successfully completed. Congratulations!
If the installation did not succeed, you can safely rerun it
after solving the issue that caused the interruption.
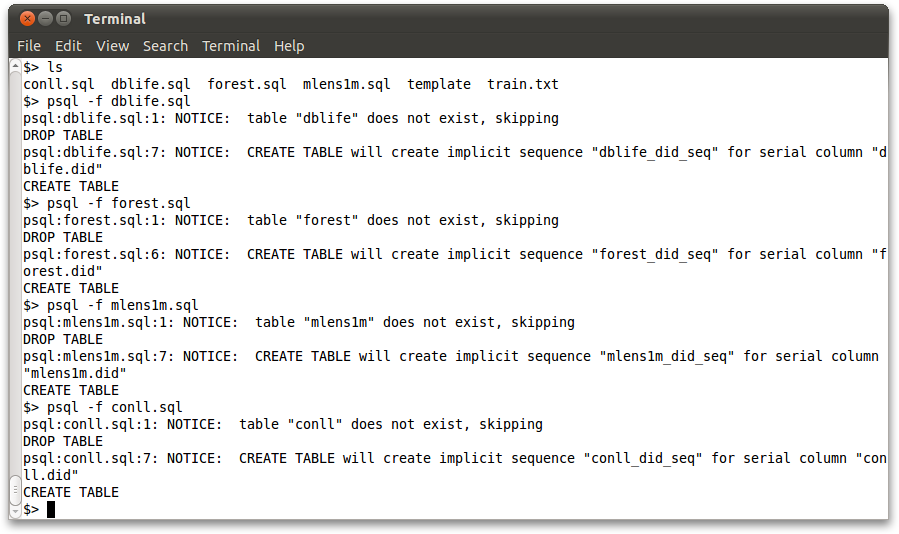
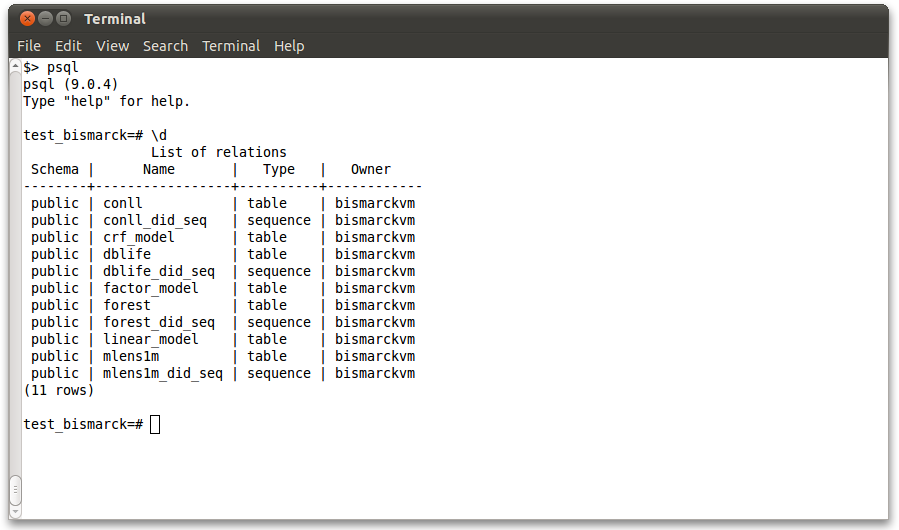
5. Load Test Data
Sample data files are available in the separate bismarck_data folder. The .sql files also define the schema for the tables. Run these files in the usual way:
psql -f dblife.sql
psql -f forest.sql
psql -f mlens1m.sql
psql -f conll.sql
6. Run Bismarck
Detailed usage information is given at the Using Bismarck page, but we present simple invocations here to test your Bismarck installation.
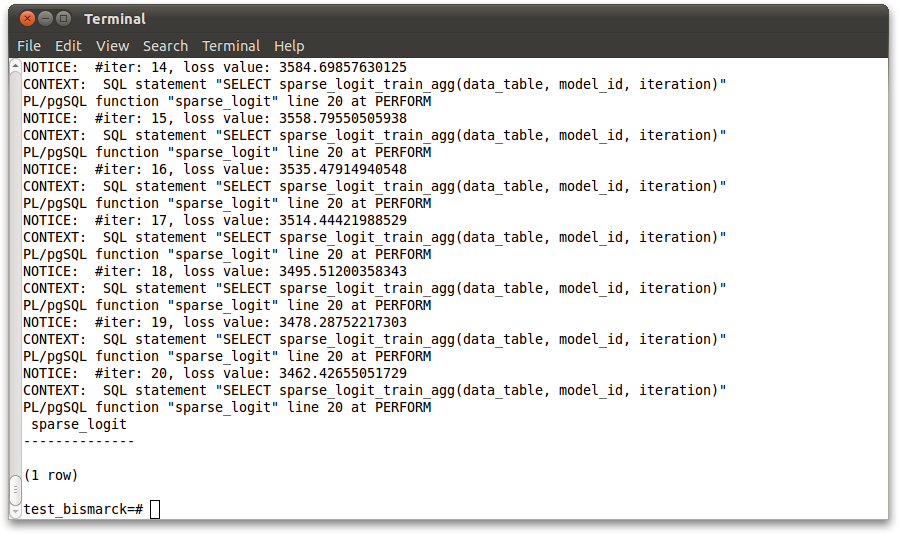
Issue the following SQL queries to run the tasks (invoking SVM is similar to LR). Check if the output loss value is decreasing and within the respective ranges after the first several epochs:
SELECT dense_logit('forest', 1, 54);		--Range: (2.9e5, 4e5)
SELECT sparse_logit('dblife', 22, 41270);	--Range: (2.7e3, 4e3)
SELECT factor('mlens1m', 333, 6040, 3952, 10);	--Range: (0.7, 1)
SELECT crf('conll', 4444, 7448606, 22, 19, 1); 	--Range: (0.0, 5e4)
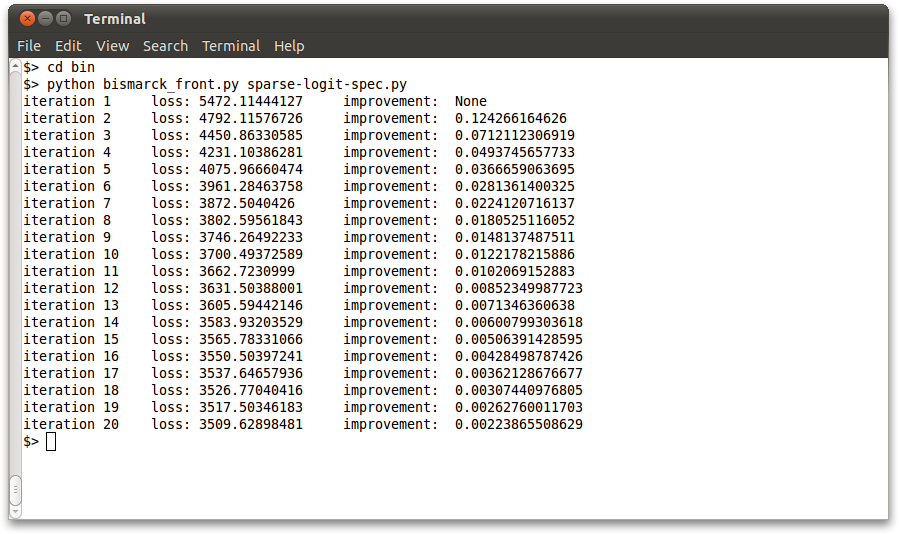
The same checks can be done using the Python-based front end, using the sample spec files provided in the bin folder:
cd $PGHOME/bin
python bismarck_front.py dense-logit-spec.py
python bismarck_front.py sparse-logit-spec.py
python bismarck_front.py factor-spec.py
python bismarck_front.py crf-spec.py